Winter is here, and that means it’s time to decorate the house with everything snow. I love making snowman decorations because they provide a great blank canvas base. That is, everyone can work on the science part of wiring up the snowmen with LED lights, but the project is clearly just in the initial stages when it turns on.
Projects like these snowman decorations really help give kids a creative outlet to express themselves. Instead of getting trapped into seeing a finished project and trying to recreate it, these blank white balls beg for kids to use their own creativity and passion to make the decoration uniquely theirs. And since it is uniquely theirs, you’ll want to keep them in the Christmas decorations box to pull out year after year.
Looking for a simpler circuit project that is also holiday inspired? Check out our paper circuit LED snowman activity that uses similar supplies!
Project Ingredients:CR2032 batteriesCR 2032 battery holderLEDs (I love this kit because it has various colors AND rainbow flashing LEDs)Male to female cable wiresCotton balls or various sized foam ballsDecorations (check out your local dollar store for some amazing, and cheap, options)

How to make an LED snowman decoration for kids
- Drill, smush, punch, or somehow otherwise create two holes that go through the middle snowball
- Thread two jumper cables into each hole – make sure the same ends for all four cables are on the same side
- Plug an LED into both sets of jumper cables
- Push the LEDs into the snowball to hide wires
- Test the LEDs
- Plug the two negative wires into the bottom of the battery.
- Plug the two positive wires into the top of the battery.
- Glue the battery holder to the snowman
- Manage the wires in the back
- Decorate!

1. Drill, smush, punch, or otherwise create two tunnels through the middle snowball
These tunnels need to be big enough to thread the jumper cables through, but small enough that the LED light can just about fill it.

2. Thread the jumper cables through
You will need to thread two jumper cables through each hole you created. Make sure that the same plug types are on the same sides of the snowball.

3. Plug an LED into each set of jumper cables.
The legs of your LED should fit nicely into the female plugs of your jumper cables. They should fit snugly and the legs should insert about 1cm or more.

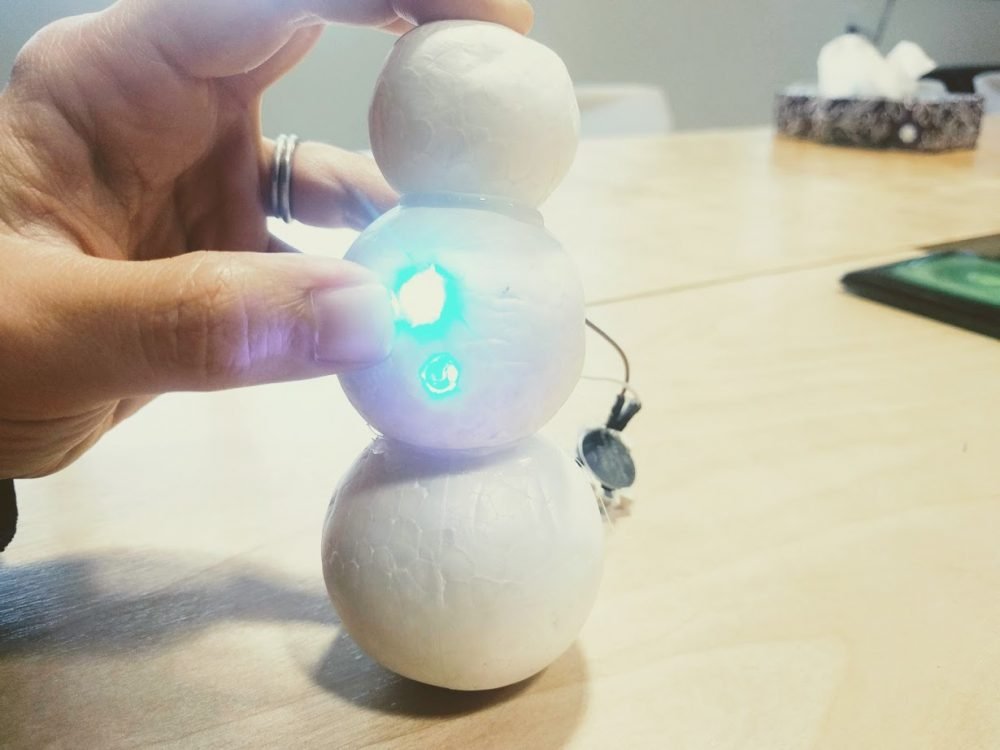
4. Push the LEDs into the snowball to hide the wires
This step will take some careful pushing and pulling on the cables. You want to push the LED to be mostly flush with the snowball so it looks just like a button, but you also need to make sure the LED and jumper cables maintain a good connection.

5. Test the LEDs
You can test each LED by taking the two male ends of the jumper cables and putting one on each side of the battery (that is, one jumper cable touches the bottom, one jumper cable touches the top). If the LED does not light up, try switching the side the cables touch. So, move the jumper cable on the bottom to the top and vice versa. LEDs have a polarity, so your initial check might have been in the wrong orientation.
If your LED still does not light up try a new battery. If it STILL doesn’t light up it could be a problem with the wires inside your jumper cables.

6. Plug the two negative wires into the bottom of the battery.
With the battery holder we sourced, you can actually create a clever switch and circuit connection to the battery. For the two cables that run to the bottom of the battery, you can plug them between the holder and the bottom of the battery. If you forgot which 2 cables should go to the bottom of the battery retest your LEDs and make a note of where each cable is when the LED is working.

7. Plug the two positive wires into the top of the battery.
The tops of these battery holders have the perfect space between the clip and the battery to ‘plug’ your positive wires into. This makes a nice stable connection for your LEDs. I used a little hot glue to permanently glue the two positive leads together so I only needed to plug one thing in each time.

8. Glue the battery holder to the snowman
Using a dab of hot glue you can adhere the battery holder to the snowman allowing the whole unit to move around and be placed anywhere easily. You can also glue your snowman to some sort of a base.

9. Manage the wires
Last, but not least, you can use bits of hot glue to manage the wires in the back of your snowman decoration. By doing this you will make it easier to cover the wires with clothes, decorations etc.
2 thoughts on “DIY LED Snowman Decorations”
Comments are closed.