Bring the microscopic world to life with just a laser and a syringe!
What you’ll learn:
How to make a DIY mini laser microscope for kids to look at water samples with.
Key takeaways:
You can use your laser microscope to look at water samples from around the house or outdoor spaces.
We’ve looked at a few different ways to make a water microscope that is cheap and easy for kids to use, in this post we are going to learn how to make a new kind of microscope for kids. This mini-microscope is fun to build and can be a great tool for environmental science studies since you can look at living organisms in a water droplet.
For example, kids can use this pocket microscope to investigate pond water, try to engineer a filter for the pond water, and test it again.
Another idea of combining this mini microscope with science classes is to investigate the swimming rate, eating rate, or quantity of various types of organisms found in the pond water. Does a smaller organism size correlate to faster swimming?
You can also compare pond water with sea water, distilled water, and tap water. What are similarities and differences? What does carbonated water look like?
As you can see, there are a lot of possibilities for science you can do with this DIY laser microscope for kids!
Project Ingredients:
- Green laser pointer
- Syringe (no needle – note this needs to be a syringe, not an eye dropper type of sample sucker)
- White wall, screen, or large sheet of paper
- Recycled materials to engineer a stand or Lego bricks
How to make a laser microscope for kids
First and foremost with this laser microscope project we need to talk about laser safety.
The green lasers we use to make the mini microscope are 5mW. This probably doesn’t mean much to you, but let’s just say it isn’t enough to blind you, but it is enough to cause eye damage if you stare at the beam.
Kids (and adults) should not look at the beam.
If they want to have some fun playing with the laser you can face them all towards a wall and let them write their names, make silly circles, etc.
In addition, it is good laser safety to not wear jewelry while working with lasers – the beam could hit a bracelet or gem and be reflected all over, including into other peoples eyes.
Basically, be smart with how you use the laser.
Again, it won’t blind you, in fact, it won’t even burn your skin, but you should still be vigilant.
OK, now that we have talked about laser safety, let’s make a mini laser microscope!

1. Build a housing and switch for your laser
We used Lego bricks to build our DIY laser microscope. You can also use recycled materials found around your house. Since we are going to look at tiny microbes in the water we need our entire laser microscope set up to be very stable. Holding the laser with your hand will cause a lot of wobble, so we need to build a laser housing that will allow the laser to be ON without you holding or touching it.
To do this we built some walls around the laser and used a Lego brick across the button to turn it ON. When the yellow brick is installed the laser pointer will be ON, even if we aren’t holding the laser, which is exactly what we want.
If you are using recycled materials you could use tape, a binder clip, a board the hinges into place, or some other contraption to get the same end result.

2. Build a sample holder
Ideally, you have a syringe as your sample holder. If you don’t you can use a toothpick to form a drop of water, although this will make the setup much more difficult. We started off using a toothpick originally, but the inability to control the drop was difficult to engineer around.
We used Lego bricks as our sample holder as well. We found that the bricks with holes drilled into the sides worked well for the tip of a syringe to sit in. The tip of the syringe should just peek out the other side of the brick, allowing your drop of water to be ‘seen’ by the laser.
Use more Lego bricks to build a housing for the syringe allowing it to have a drop of water showing and no one holding it. The shake of your hands will make it incredibly difficult to see anything if you are touching the syringe.


3. Align your laser and your sample holder
For this mini laser microscope to work, you need the laser to shine through the tiny drop of water.
This requires a lot of problem-solving, engineering, testing, and failure (isn’t that what science, in general, is all about?!?)
I find this process easier if you have a separate laser and sample holding platform. This allows you to make small changes in the distance between the sample, heights, angles, etc.
You can use a piece of paper, or Lego lab assistant, to track where the beam is going during the alignment process.

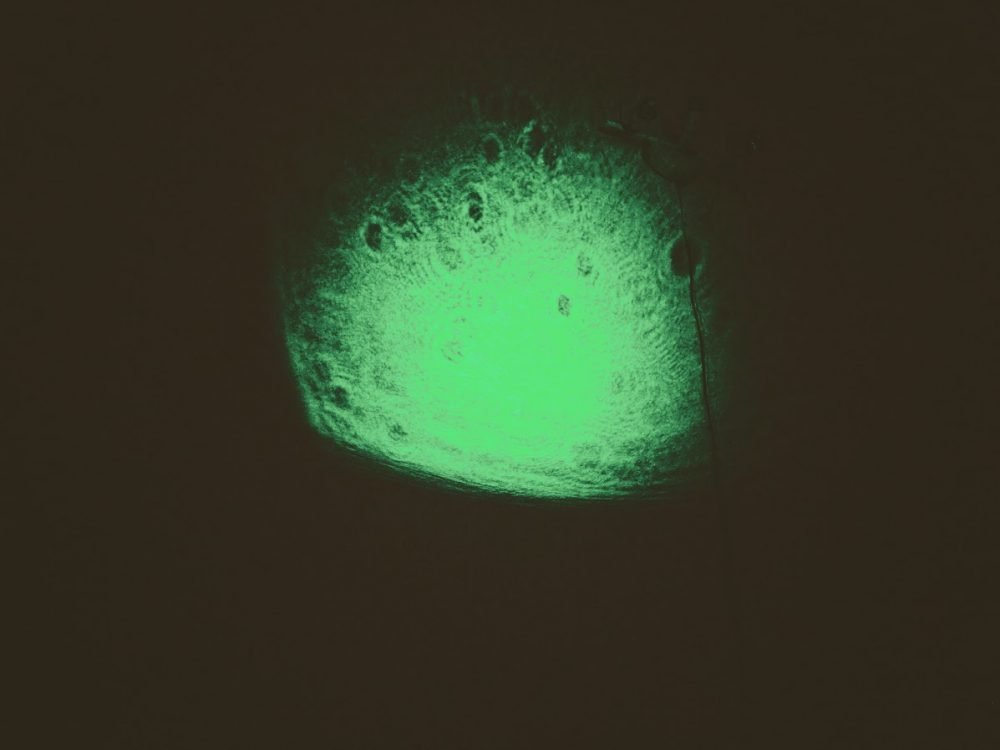
4. Turn out the lights and look at your wall
The laser beam should not look like a small green dot on the wall. If it does, your laser beam and sample drop are not actually aligned – go back to step 3.
If the laser beam is spread out on your wall, congrats! You have made a laser microscope. Look closely and you should see tiny balls in the water moving around. These are actually tiny organisms! If you are lucky you might even catch one organism eating another!