Programming for kids is a great way to learn logical thinking.
This helps kids think in a mathematical, visual, and spatial space.
But how can we make programming for kids interesting with minimal screen time?
Through Ozobot codes.
The Ozobot is a line following robot that can be programmed through Ozobot sticker labels or Ozobot markers. The Ozobot uses these color codes to determine what choices to make at intersections of lines.
One of the reasons why I love the Ozobot to teach programming for beginners is that you don’t need to program every move, and you don’t need a screen to do it.
The first way that the Ozobot can teach programming for kids is through the drawing of lines. It might not seem like programming, but by drawing the line you are telling the Ozobot the path to take, and are thus programming the Ozobot.
You don’t need to know any special languages, you don’t have to write code, and you don’t have to be able to read to start programming with the Ozobot.
All you need is the desire and some Ozobot markers.
I love when we can blend art and science together since kids are always eager for both art and science.
By finding ways to blend the two we can create pathways for deeper learning. The Ozobot does this really well with the blend of a line following robot and Ozobot codes.
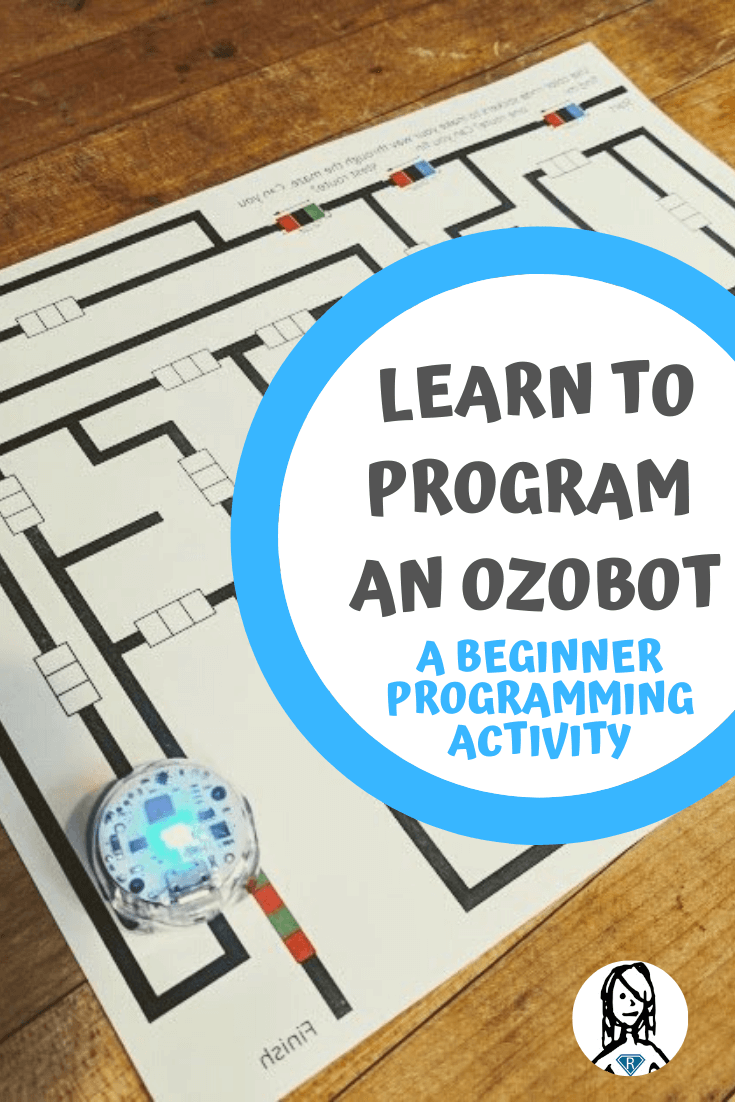
We’ve made some Ozobot mazes that you can download and print.
These mazes have the lines the Ozobot can follow already printed on them. These lines branch and cross each other, which brings in the programming for kids. If you don’t tell (aka program) the Ozobot what type of turn to make it will make a random choice everytime it sees a line branch or cross.
If you want to navigate an Ozobot maze efficiently and quickly you can’t rely on the Ozobot randomly making the right choices at each intersection.
It would be very unlikely that it would correctly get from start to finish without kids putting down Ozobot sticker labels, or using Ozobot markers, to tell it which way to turn and when.
If you are using the Ozobot sticker labels it is easy for kids to fix issues in their programming since they can just add a sticker on top of the old one.
If you are using Ozobot markers in our Ozobot lessons I would suggest having kids plan, and draw out turns before filling in the Ozobot codes.
That will give you an opportunity to test run the program and fix any errors that might arise before coloring in the boxes with the Ozobot markers.
What you’ll learn:
Logic and beginning programming for kids. How to use Ozobot color codes to navigate an Ozobot maze.
Key takeaways:
You must look at the Ozobot maze from the Ozobot’s perspective to be able to program properly.
Project Ingredients:
- Ozobot
- Ozobot markers or Ozobot sticker labels
- Printable stickers if you are using our Ozobot sticker label download (it’s a lot cheaper)
Programming for kids using the Ozobot Codes
- Print our Ozobot maze templates.
- Draw a line along the path you want to take through the Ozobot maze.
- Determine what directions the Ozobot will need to take at each intersection to follow the path you desire.
- Use Ozobot sticker labels or Ozobot markers to lay down Ozobot codes.
- See how your Ozobot navigates the Ozobot maze.
- Make modifications to your program by overlaying new Ozobot sticker labels where necessary.

1. Print our Ozobot maze templates.
We have developed a couple of fun Ozobot mazes to teach programming for beginners.
These mazes challenge you to first find a working path from beginning to end and then optimize that path to have your Ozobot finish the path the fastest.
We are always adding new Ozobot lessons and mazes to our library. If you enjoy our two Ozobot maze templates make sure to subscribe to our newsletter to get notifications when we come out with more!
2. Draw the path you want your Ozobot to take through the maze.
You kids might be biting at the chops to start programming through the Ozobot mazes when they are hot from the printer. However, in the world of programming, a little planning can go a long way.
I think this is one of the things that makes programming for kids so difficult – you have to contain and direct their energy and enthusiasm for programming the Ozobot.
Encourage your kids to use a pencil to draw over the path they want to take through the Ozobot maze. This will force them to think about the best path, or even a viable path, to the finish.
Once they have a path they can then know how to direct the Ozobot.
3. Determine the direction the Ozobot will need to turn at each branch.
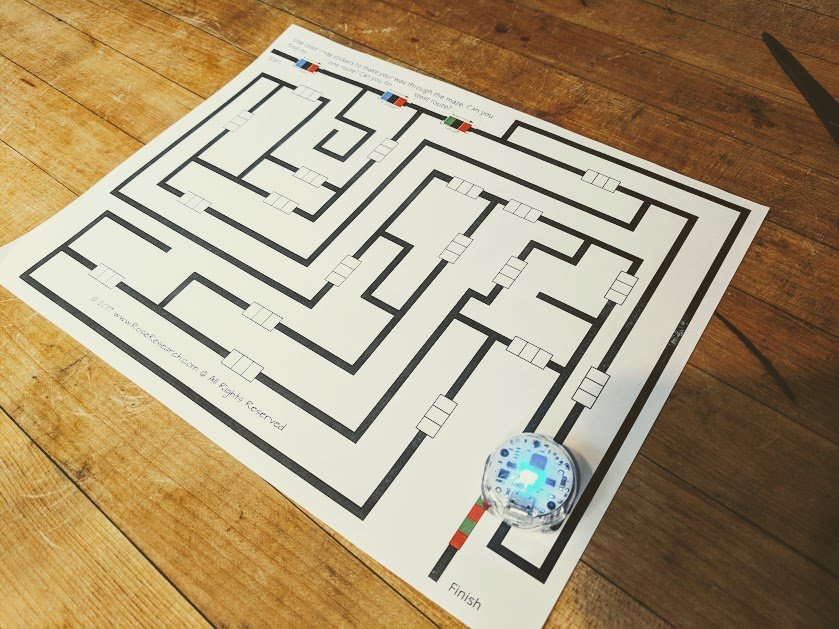
Our Ozobot mazes have a set of three white boxes before each branch or intersection.
Kids will need to determine if the Ozobot needs to go straight, right, or left at each intersection as just drawing your line won’t actually program the Ozobot through the maze.
Without Ozobot codes it will make a random choice at every intersection and branch.
As you are determining which direction the Ozobot will need to turn, make sure you look in the frame of the Ozobot. That is, if the Ozobot is driving down the page towards you it will see your left as a right! If you need to get up from the table, or turn the paper around, do it.
As the Ozobot twists and turns through our maze it’s frame of reference will be constantly changing relative to yours, and this can become a big issue when programming for beginners.

4. Use Ozobot codes to direct it through the Ozobot maze.
You can print out our Ozobot sticker labels or order them online if you want to use stickers to lay down the Ozobot codes.
If you prefer to program with markers you can use Ozobot markers, or Crayola markers in green, blue, and red.
In my experience, the Ozobot sticker labels are easier to use. Kids might make the dots using the markers too large, too dark, or uneven in coloring which can confuse the Ozobot. Plus, with the Ozobot sticker labels, you can easily correct your code by just adding a new sticker on top.
Of course, if you make too many corrections you will need to remove the old sticker codes as it will become too thick for the Ozobot to navigate over.
5. Try running your Ozobot through the maze.
Once you have planned your course and laid down the corresponding Ozobot codes it is time to see how it navigates the maze.
Turn on your Ozobot and let it begin at the start of the Ozobot maze. As it encounters the Ozobot codes it will be programmed on the fly, holding only one command at a time in its memory.

6. Modify your Ozobot program where needed.
As you watch it navigate the maze it is likely that it will make a turn you did not expect.
When this happens, take the Ozobot off the maze and determine why it made the wrong turn. Then choose a new Ozobot sticker label to try and fix the issue. Repeat this process until your Ozobot successfully navigates the maze!
Now that you finished your first Ozobot maze, see if you can finish it in a faster time (optimize the path). Can you draw your own Ozobot maze?